

How To Clean Particle Board Kitchen Cabinets

All good things come with a toll, don't they?
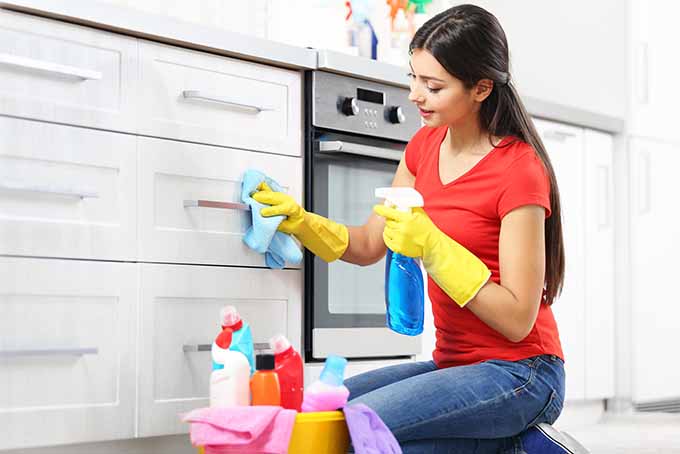
If you enjoy cooking and spending time in the kitchen, the spills, splatters, and grease will eventually accumulate, and a adept cleaning session will be necessary – ane that's a bit more thorough than the usual quick daily wipe-down of the stove, counters, and tabletops.
At that place'southward no uncertainty that scrubbing the kitchen cupboards and cabinets tin be a big job. So nosotros've compiled the tiptop tips for tackling this chore for the best possible results – in as little time and with as little try every bit possible!
In this mail service we'll cover how to clean some of the most common materials, like natural and painted wood, laminate, metal, and glass. We've likewise got the best cleaning method for tackling the worst in terms of accumulated kitchen grunge – the subconscious tops of cupboards. And we'll also share besides a couple of foolproof methods to disinfect closet and drawer interiors, to keep your kitchen safe and germ-free.
A Little Dusting Goes a Long Way
What's one very simple chore that can minimize the frequency with which an intensive cleaning is needed?
Dusting.
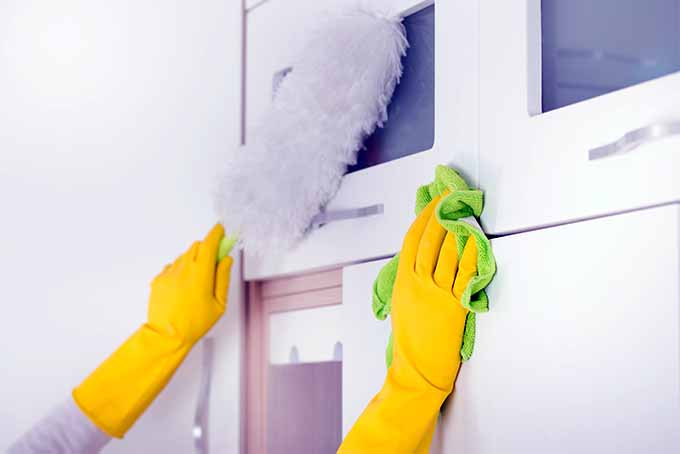
It may seem a scrap counterintuitive to grit vertical surfaces, but dust will accumulate on cupboard exteriors – particularly if a lot of frying is done in your kitchen. Fine particles of oil will settle on all surfaces, including vertical ones, acting similar a magnet to concenter dust.
Regular dusting with a lint-complimentary cloth or duster helps to forestall this combination of oil and dust from forming that sticky, hard-to-remove residue – which, when left undisturbed, attracts even more grit!
Start Elementary
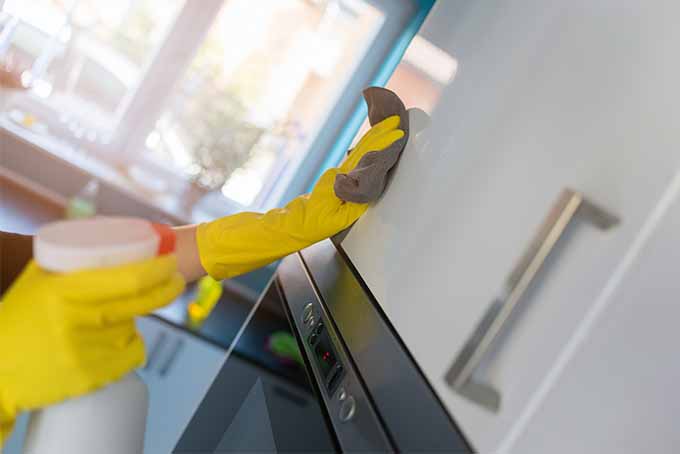
Almost of the spots and smears that announced on cupboard exteriors on a daily ground can be handled simply with a soft cloth and warm, soapy water.
Simply for tough stains and built-upwards accumulations of grease and grime, a bit of actress elbow grease is required.
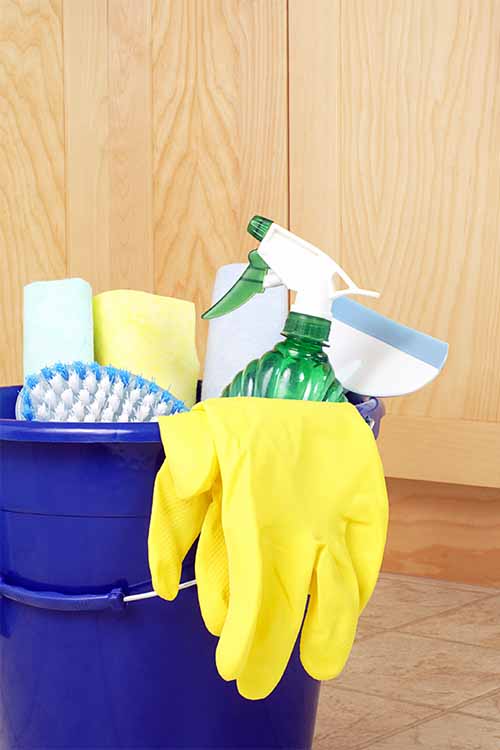
Here's what you need to do:
- To launder with lather and h2o, use a make clean, soft cloth and a mild detergent – Dawn or Ivory are both skillful options. Soak and wring out the material, then wipe down all surfaces, paying particular attention to handles, hinges, and whatever surface ridges that grade pattern details.
- Rinse the doors and sideboards promptly with a soft cloth and clear, warm water, then wipe up the remaining moisture with some other dry, soft cloth.
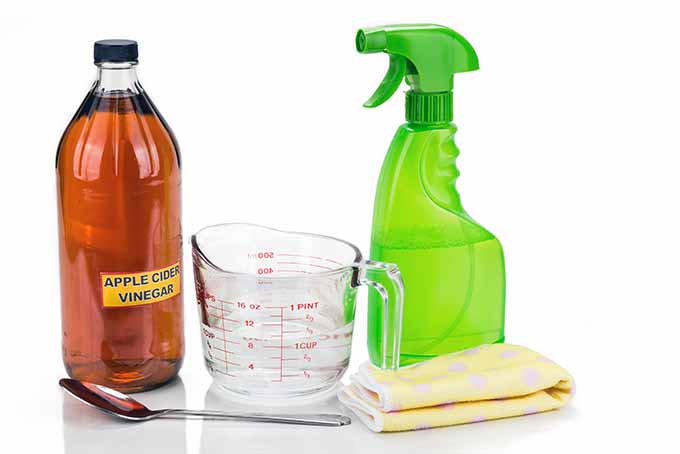
- For tough, glutinous grease, a solution of white vinegar and hot water is an inexpensive and natural solution that produces very good results. Mix up a solution of one cup vinegar to two cups hot h2o. Soak a clean cloth in the solution, then wring out nearly of the moisture and wipe down your greasy cabinets. Dry out with a soft cloth.

- If any sticky spots remain, dampen your wet cloth with undiluted white vinegar, and requite it some other wipe-downwardly, applying a bit more than pressure if needed. Rinse with clear water, and dry with a soft fabric.
- For really obstinate grease and grime, make a paste of white vinegar and baking soda – simply test this on the inside of the cupboard first, to ensure it won't mar the finish. Rinse your material with warm water, wring out the backlog wet, and pick up some of the paste. Dab it on wherever it's needed and let information technology to sit and work for a few minutes. Rub gently with a damp cloth or the textured side of a sponge to lift the grime, or employ a soft-bristled castor, then rinse with articulate water and dry with a make clean fabric.
Avert using annihilation that volition scratch or irksome the surface of your closet and cabinet finishes. This includes strong detergents, annoying cleaners, scouring pads, and harsh dirt-cutting chemicals.
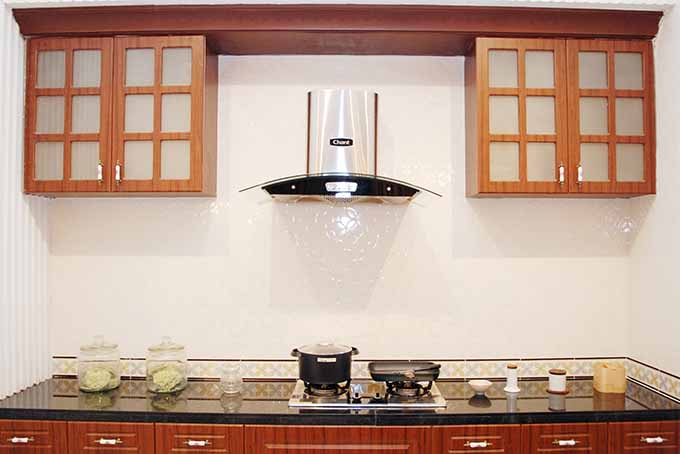
Warm & Wonderful Wood
Natural wood cabinets accept a beautiful, warm appeal. And they're not actually any more difficult to wash than other finishes. Almost wood finishes can be cleaned in the same mode, without the need for expensive specialty products.
General purpose oil and soap cleaners like Spud's Oil Soap will cut through grease and stains on woods cupboards, only they besides tend leave a sticky residue backside – which forms a natural trap for dust.
When forest becomes difficult to clean, this is usually considering the cease has get damaged to the indicate where water tin seep through to the wood itself. And if the finish is cracked or peeling, refinishing may exist what's needed, rather than just a proficient washing.

Some of the challenges the finishes on wood cupboards confront are the result of a few factors – with light, oxidization, and moisture beingness the well-nigh common problems.
While there's little 1 tin do to reduce the damage caused by light and oxidization, kitchen wet can often exist minimized.
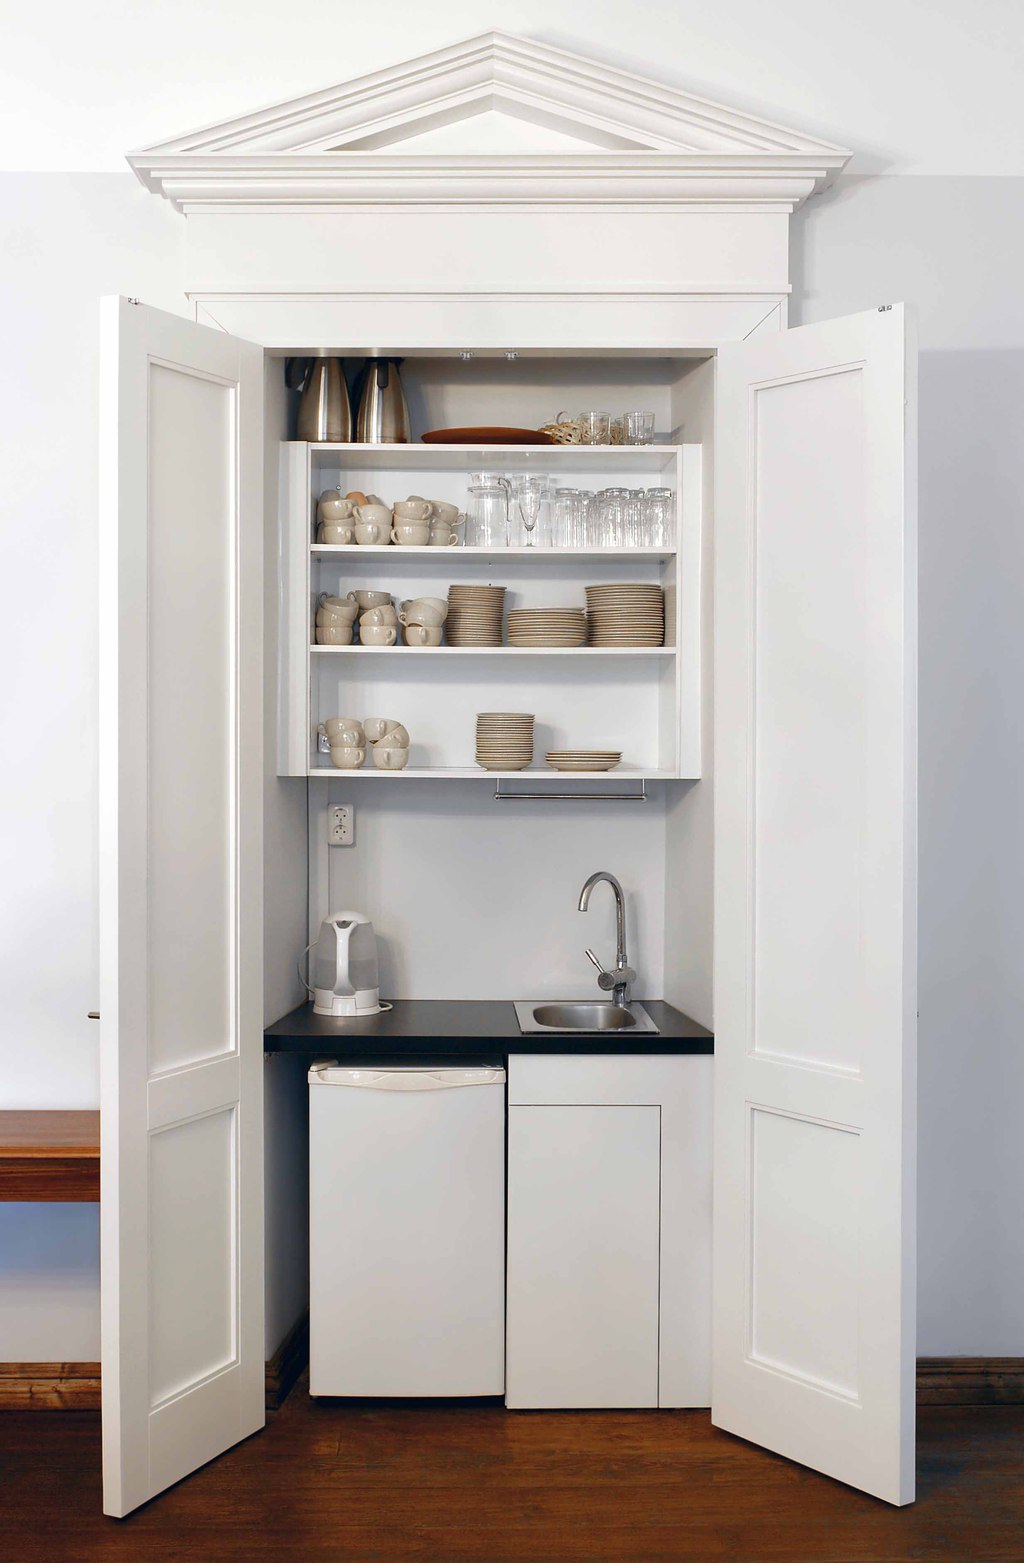
First, avoid placing steam-producing appliances directly under wood cupboards. After an extended period of time, they will literally steam-make clean the cease right off of the wood.
Locate baste java makers and electric kettles in spots where they won't be billowing steam onto woods that's overhead. And if wet accumulates on a wood surface after running the dishwasher, wipe it down promptly with a dry material.
Whether your forest cabinets have a lacquer cease, epoxy, or a conversion varnish, all of them tin can be cleaned in the following manner.
And call back to dust every week or 2, to extend the fourth dimension that you tin can allow between more than extensive scrubbings.
- For regular washing, utilize a soft sponge or fabric with a solution of warm, soapy h2o using a mild detergent, such as Dawn or Ivory. Rinse promptly with clear water, then dry out with a soft cloth.
- For tough, pasty grease, a solution of 1 cup white vinegar and 2 cups hot h2o will piece of work. Rub it in with a sponge, and dry out with a soft cloth.
- If whatever gluey spots remain, dampen your moisture fabric with undiluted white vinegar, or make a paste of baking soda and water. Rub this in gently with a sponge, then rinse with clear h2o and dry out promptly.
- For layers of accumulated grease and crud, y'all may need to go with a natural citrus cleaner, such as lemon or orange oil. Select one that has a high per centum of d-Limonene effectually 90-100%, such every bit pure orange oil concentrate. Follow the manufacturer's directions, and make sure to rinse well afterwards.

Limonene is a naturally occurring oil in the family unit of chemicals known equally terpenes. It'south found in abundance in the peels of citrus including oranges, lemons, limes, and grapefruit. Its name is derived from the lemon, merely d-limonene smells strongly of oranges.
A natural solvent, it'south particularly proficient at cutting grease. And equally an all-purpose cleaner – non-carcinogenic, non-flammable, non-toxic and biodegradable – information technology outperforms many harsh solvents in terms of cleaning power, every bit is shown in this interesting data sheet that compares the relative strength of d-limonene to industrial solvents.
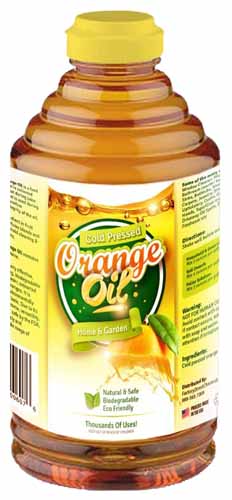
Pure Cold Pressed Orangish Oil Concentrate available on Amazon
Information technology has some pretty substantial credentials as a health-promoting compound likewise. With its anti-inflammatory, anti-cancer, and other health-assisting properties, d-limonene also makes a noteworthy contribution to health and clinical applications.
Equally a little aside, orangish oil with d-Limonene is an amazing biodegradable and natural cleaner.
When I worked in the movie biz, it was the only product that would actually lift and remove grease-based pancake makeup and reel blood from costume pieces – the two toughest stains for the wardrobe department. And, cleaning bated, it's the merely product I've ever institute that finer prevents deer from grazing in the garden like its Bambi's salad bar!
Every bit always, avoid using strong detergents, abrasive cleaners, scouring pads, or harsh dirt-cutting chemicals on wood finishes, or anything that will scratch, tiresome, or elevator the finish.
A regular application of a good quality paste wax once or twice a year, or the occasional buffing with article of furniture polish after washing, will add a lustrous patina to wood cabinets and help to retain the cease also.
To utilise paste wax, apply a clean, soft cloth to apply a thin layer of wax in small segments, using a circular motion. After applying the wax, it needs time to dry before buffing with a soft textile.
Three important points to recollect about waxing are:
i. Apply a sparse coat. If a thick coat is put on, it won't dry out evenly and may leave a spotty sheen.
2. Allow the wax enough fourth dimension to dry out before buffing.
three. If using a paste wax with toluene (a solvent that keeps the wax soft), ever ensure more-than-adequate ventilation. Open the windows and doors and plough on a large fan to push the fumes outdoors, as toluene fumes are very toxic.
Amend yet, choose a toluene-free choice that uses mineral spirits instead – they'll perform the same way, they but need a bit longer to dry. Briwax is a expert quality paste wax used by professional cabinet makers and furniture restorers, and they brand a toluene-gratis versionbesides.
![]()
Briwax – Clear – Toluene Gratis Piece of furniture Wax available on Amazon
Besides the clear version shown in a higher place, both the original formula and the toluene-free version are bachelor in lots of different wood tones.
As far equally "oiling" wood cupboards is concerned, most models manufactured for today's kitchens will rarely accept a truthful oil cease. This blazon of stop is found primarily on antiquarian cabinets, or in the case of special orders, where a reproduction or antique finish is intentionally created. As such, the application of oils to moisturize woods is only needed for these specialty items.
It's likely that the only wood pieces in your kitchen that require oiling for care and maintenance are wood cutting boards, salad bowls, or mortars and pestles.
Get more information on cleaning and oiling wooden cutting boards and chopping blocks now.
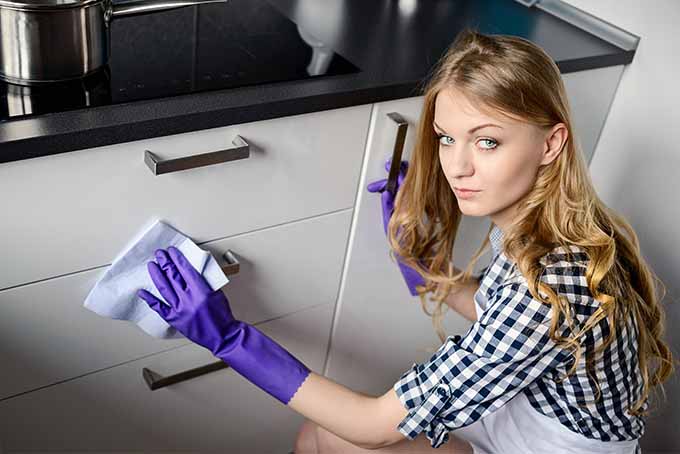
Pretty Painted Surfaces
Cabinets coated with an oil-based pigment are more durable and wash up more than easily than those painted with latex, or so-chosen "milk" or "chalk" paints. For oil painted surfaces, using a soft nylon castor tin can help to loosen stubborn clay, but don't apply these on latex or chalk paints, as the scrubbing required may result in the pigment lifting or peeling.
- To wash down painted cupboards, start with a mixture of one tablespoon of mild liquid dish detergent with one gallon of warm water. Immerse a soft sponge in the water, and then squeeze out the excess until just clammy. Scrub the dirtiest parts kickoff, then wipe down the remaining surfaces.
- Utilize a soft toothbrush to target hinges, corners, and hard to accomplish spots, but exist sure that you don't utilize anything more abrasive than a soft brush.
- Vinegar and hot h2o will work on tough-to-clean painted surfaces, every bit will a paste of vinegar and baking soda.
- Oil-painted cabinets can also accept a scrubbing with ammonia and hot water, merely think to open upward the windows when using ammonia and avoid breathing in the fumes. Rinse with clear water and wipe dry out when finished.
- Don't allow your painted cupboard surfaces to air dry, equally this volition leave water spots – instead, always wipe them downwards thoroughly to dry out.
- After washing, a thin application of a clear paste wax will assist to protect painted cupboards from everyday stains, splatters, grit, and calorie-free scratches besides. Apply a skilful quality paste wax, preferably one that'southward toluene-free, to help seal and protect oil, latex, and chalk paint surfaces.
Avoid using liquid waxes on kitchen cabinets that are painted, equally they usually contain oils that can react adversely with the paint. Citrus oils should too be avoided.
As with all cabinets, avoid using harsh detergents, abrasive cleaners, or metallic scouring pads on painted surfaces, as they can scratch, deadening, or mar the finish.
Long-living Laminate
Laminate surfaces offer a tough, durable finish that's piece of cake to clean and maintains their good looks, fifty-fifty in kitchens that receive a lot of corruption – like the beatings that come from kids, pets, and loftier-temperature cooking!
- Keep laminate looking good and reduce the frequency of washing with regular dusting.
- Make clean laminate surfaces with a solution of mild dish soap and warm h2o, rinse with articulate water, and wipe dry out with a soft cloth.
- Use a hot water and white vinegar solution, or a vinegar and baking soda paste for tougher chores.
- Grease can usually be dissolved with undiluted white vinegar. Spray on full strength vinegar with a spray bottle and permit it to work for about v minutes. Use the finest mist setting on the sprayer to forbid dripping, and mist several times if needed. Wipe off the vinegar and grease with a soft fabric and hot, clear water.
- The seams of laminate cabinets need a flake of extra attending, as they can trap grease and debris – utilise a soft nylon brush or toothbrush in these areas to loosen and lift clay.
- Ensure that the seams are dried thoroughly as well, equally the interior particle board tin not bad if they absorb also much liquid.
- For stains such every bit coffee, tea, grape juice, and cranberry juice, try a paste of baking soda and water, or blistering soda and lemon juice. Dab up some paste with a soft cloth and cover the stain. Allow it to work for a few minutes, then rub gently with a soft, clammy sponge to elevator the marks.
- Or utilize a citrus-based cleaner with d-Limonene to remove stains. Apply a mix of one role citrus oil and one part water, and rub into the surface with a sponge. Allow it to emulsify for a few minutes, then rub gently with the scrubby side of a sponge. Wipe upwardly and rinse with articulate water.
Don't utilize scouring pads or abrasive cleaners on laminate either, as they'll dull and scratch the cease.
Metal Cabinets
Metal cabinets mostly come with a painted enamel finish, and then washing is done in the same fashion as for other painted cabinets.
- Mix i part gentle liquid dish soap with one function warm water, and employ a soft sponge to wipe downwardly the surfaces.
- If washing with warm, soapy water and a soft sponge doesn't remove all of the spots on your metal cabinets, use rubbing alcohol to wipe away grime and grease. Utilise a small amount to a soft cloth and rub in a circular motion until the clay is lifted.
- Erase any rust spots by gently rubbing with extra-fine steel wool. Be very careful with this, and then as non to scratch the metallic finish.
- Rinse away the soap and rubbing booze with clean h2o, and ensure that it dries completely to avoid rust. Use a blow dryer on whatsoever bare or sanded areas where rust has been lifted, hinges, or joined corners to completely remove any water residue.
- And as an optional finishing pace, utilize a thin layer of good quality auto wax over the unabridged surface of the cabinet for a lustrous glow – but don't utilize the wax on any shelves that will exist in contact with foodstuffs. And open up the windows to provide adequate ventilation if yous do utilize an automotive paste wax. While information technology won't event in any chronic health effects, persistent inhalation of the fumes tin cause irritation.
- If you lot're non planning to repaint the entire cabinet, bear on up areas where rust spots have been removed with paint that's designed for metallic surfaces. And If you lot can't notice a color friction match at the paint or hardware store, check your local motorcar body shop – they'll often take a great selection of colors in small touch-up sizes.
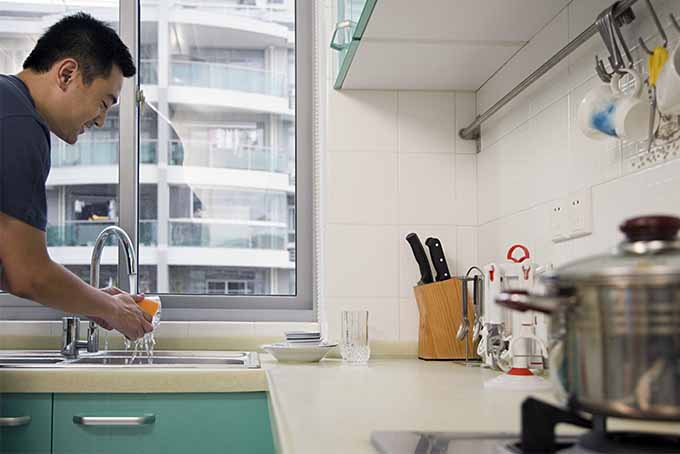
Gorgeous Drinking glass Doors
Glass cabinet and cupboard doors can be cleaned the same mode as other glass household surfaces.
- For spills, dried-on foods, and daily crud, wipe with warm, soapy water on a soft sponge, then rinse with clear water.
- For a streak-free cease, use a solution of 50% distilled white vinegar and l% water, or a commercial glass cleaner with ammonia.
- For mounted drinking glass within a wood frame, take care not to damage the finish of the door and chiffonier parts with spray cleaner – wipe the frame downward promptly if overspray occurs.
- If the glass doors have wooden mullions – the decorative division elements – spraying directly onto the glass tin can cause seepage into areas behind the mullions, potentially leading to discoloration of the wood. Rather than spraying your cleaner direct onto the glass, spray a modest amount onto a soft cloth or lint-gratuitous paper towel instead, and then wipe the glass with the cloth. Dry promptly with a soft, dry out cloth or paper towels.
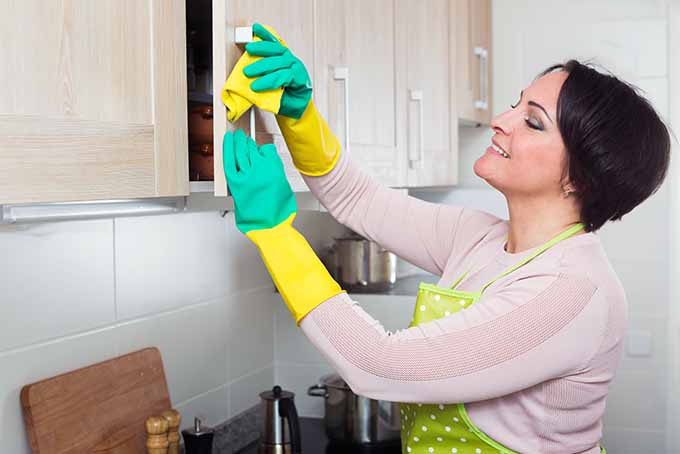
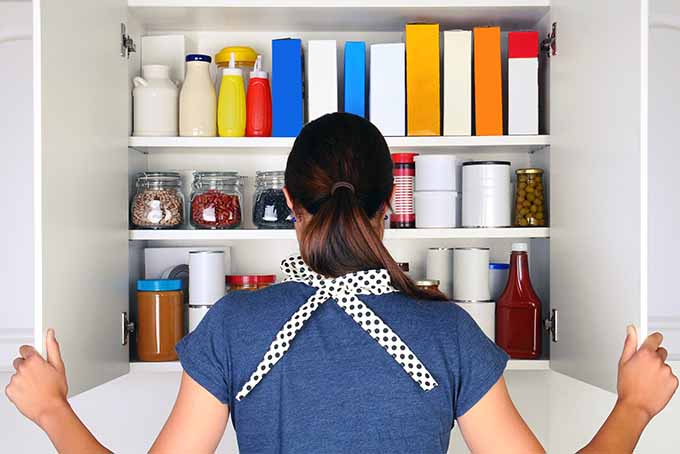
Disinfecting Cupboard & Cabinet Interiors
Like cleaning, disinfecting kitchen cabinets and cupboards is one of those tasks that needs to be done a regular basis.
To ensure that the task gets done properly, all the tough-to-accomplish corners and awkward spots need to be addressed, to ensure that no germs or leaner remain.
Of course, this does take some time and try. Simply for cupboards that hold foodstuffs, the effort is well worth the results, equally it will keep mold and mildew from forming, helps to kill germs, and keeps insects at bay equally well.
Bleach – Incomparably Disinfectant
I of the best ingredients for an intensive disinfecting of the kitchen is household bleach.
- Mix to a ratio of one role unscented bleach to 9 parts water. When handling bleach, always wear rubber gloves, and open up the windows or plough the vent fan on to ensure that the kitchen is well ventilated.
- Starting time wash with warm, soapy water, then rinse with articulate h2o. Use the bleach solution liberally with a clean rag, and rub information technology over the shelves and interior walls. Soak and wring out the rag often to ensure full disinfectant coverage.
- When you've finished applying the bleach solution, use fresh, clear h2o and a make clean cloth to rinse the shelves and walls. Soak and wring out your cloth oft, so wipe up any excess h2o with a dry out cloth or paper towels.
Allow all surfaces to dry thoroughly earlier restocking with dishes or foodstuffs.
Tackling Tight Edges
The toughest spots to scrub inside your cabinets are the places where the edges of the shelves meet the cabinet walls, and in the corners. A cloth or sponge won't usually exist able to make full contact with these catchy areas for cleaning and disinfection.
To go right into these tight angles, utilise a toothbrush dipped into the bleach solution described in a higher place, and permit the beard piece of work into the edges. For the corners, dip a Q-tip into the solution to remove whatsoever lurking $.25 and pieces.
Rinse with clear h2o and dry with a clean cloth earlier replacing your kitchen appurtenances.
Don't forget: the exterior of the cupboards needs to be disinfected too, particularly in the handle area. After washing, wipe downwards the exteriors with bleach solution, rinse, and dry.
When using a bleach solution, always test a small, inconspicuous surface area to ensure that information technology won't cause damage or discoloration.
Don't Forget the Drawers
Drawers should be cleaned and disinfected periodically equally well.
To do this, remove the drawers from the runners, empty them of all goods, and wash with warm, soapy water. Rinse with clear water and allow to drip dry upside down in the sink or on a dish rack to drain off whatever excess water.
Using the i:9 ratio of bleach to h2o described higher up, liberally soak each drawer with the solution. Use a toothbrush to get into the edges, and a moistened Q-tip to become the gunk out of the corners.
Rinse with clear water, wipe up the excess water with a sponge, and allow to air dry upside downwards earlier replacing.

Once your drawers, cabinets, and cupboards have been washed and disinfected, an excellent option to help keep the interiors fresh and clean longer is to line them with shelf paper.
Cut to size and set in place before returning dishes, cutlery, or foodstuffs, but practice remember to replace the newspaper on a regular basis when wiping your cabinets downwardly.
While sticky-backed contact paper for lining shelves is a great idea in principle, in truth, the glue that provides its tacky surface also attracts (and glues) dirt in place. And the residue it leaves behind tin be difficult to remove as well. For the easiest cleaning and paper changing, stick with non-gummy paper!
Bleach Alternatives
If you have a sensitivity to bleach or prefer not to utilize it, here are a few other options to consider:
Cleaning:
- Wipe downwardly the inside of cupboards and drawers with warm, soapy water or white vinegar diluted with warm water – about one part vinegar to two parts warm water. Rinse and dry.
Disinfecting:
- To disinfect the interiors of cabinets and drawers, mix a solution of 1/4 cup white or apple tree cider vinegar with 1/4 cup hydrogen peroxide plus one cup of h2o.
- Add a couple of drops of your favorite essential oil if desired – the fragrance will remain after the scent of the vinegar leaves.
- Pour into a spray bottle and mist empty interiors lightly. Allow to air dry earlier putting dishes and foodstuffs back.
Tea tree oil is another natural disinfectant that will kill bacteria.
- In a spray bottle, combine 2 cups h2o with one/2 teaspoon of liquid soap, 2 tablespoons white vinegar and 20-25 drops of tea tree oil.
- Shake well to mix, and apply as directed higher up.
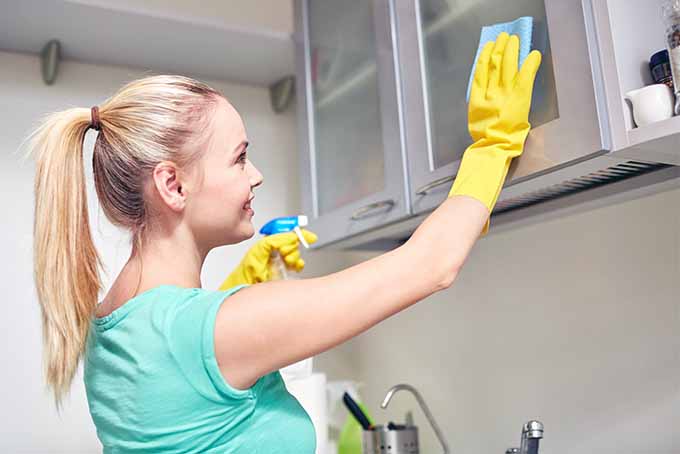
Horizontal Cupboard Tops
The tops of kitchen cupboards are where the actually nasty, thick, greasy grime lives. This is one of those "out of sight, out of mind" spots that doesn't get cleaned nearly equally ofttimes as the middle-level smears.
Since the tops of these cabinets are oftentimes of an unfinished nature, some tools and heavy-duty cleaners can be used without having to worry most wrecking the finish.
- The easiest way to cut through this mess is with powdered dishwasher detergent. You'll want to wearable rubber gloves for this chore.
- Soak an old rag in hot water and lay down a layer of water on the cabinet top – non swimming wet, but wetter than damp. Next, sprinkle on a generous layer of detergent. Add a bit more water if needed to activate the detergent, and let it correspond five minutes.

- If the layer of crud is really thick, apply a wide metal putty knife to "plow" through the worst of the grease as it loosens, then mop it up with your rag.
- In one case the worst is gone, sprinkle some detergent direct onto your wet rag and scrub in small-scale sections. Add more detergent as needed, scrub, and repeat until all of your cabinet tops are fresh and make clean. If you need something more annoying than a rag, use a nylon scrubber or Magic Eraser.
- Rinse with clear water, and dry with paper towels.
![]()
About Lorna Kring
Recently retired as a costume specialist in the TV and movie industry, Lorna at present enjoys blogging on contemporary lifestyle themes. A fleck daft nigh the garden, she's particularly obsessed with organic tomatoes and herbs, and delights in breaking bread with family and friends.

Source: https://foodal.com/knowledge/cleaning/kitchen-cabinets/
Posted by: marshallfrochat.blogspot.com
0 Response to "How To Clean Particle Board Kitchen Cabinets"
Post a Comment